
Pihole
Pihole is a forwarding DNS Server that you can host yourself that blocks network-wide ads when you attempt to visit web pages and open applications.
Explanation
If you type in the website kevintarus.com, since pihole doesn’t know the ip address of the website, it will forward that request onto the next dns server you have configured for example, Google’s DNS(8.8.8.8). That dns server will forward the ip address of kevintarus.com through pihole and into your web browser. When those requests get to pihole, it will check the adblock list and filter out some know ad-serving requests then sends the final webpage to the user.
In this, we will do some tweaking and set it up as a recursive dns server by using unbound. When you ask pihole where is kevintarus.com and if it doesn’t know the answer, it will seek out the authoritative dns server of kevintarus.com and get the answer directly from them rather than using a third party DNS like google.
On the very first request to a website, it will take longer than usual but later it will cache the website info for future use so that its much faster the next time you load the same website.
Benefits
- Third party DNS servers will no longer be able to compile a list of your internet browsing history based off the webistes you visit
- You will be safer from dns spoofing such as a fake website mimicking legitimate websites
- You can whitelist and blacklist websites
- Be able to monitor and analyse your own home network traffic
Tools I Used
A Virtual Machine (Ubuntu Server 22.04)
I recommend using:
- The cloud (if you have money)
- Rasberry Pi
- Installing Proxmox which is a type 1 hypervisor on an old machine
Steps I Did
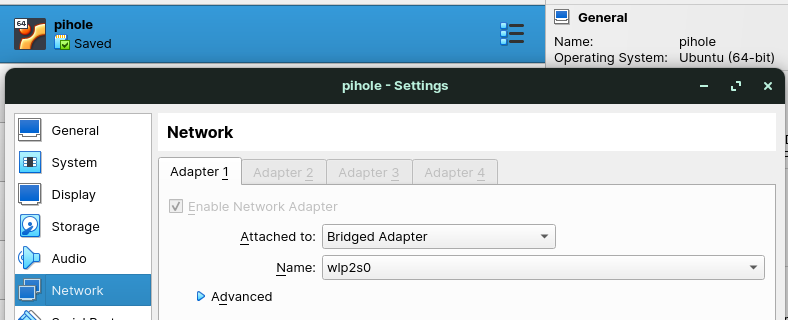
- Download and set up Ubuntu Server 22.04 (use bridged adapter)
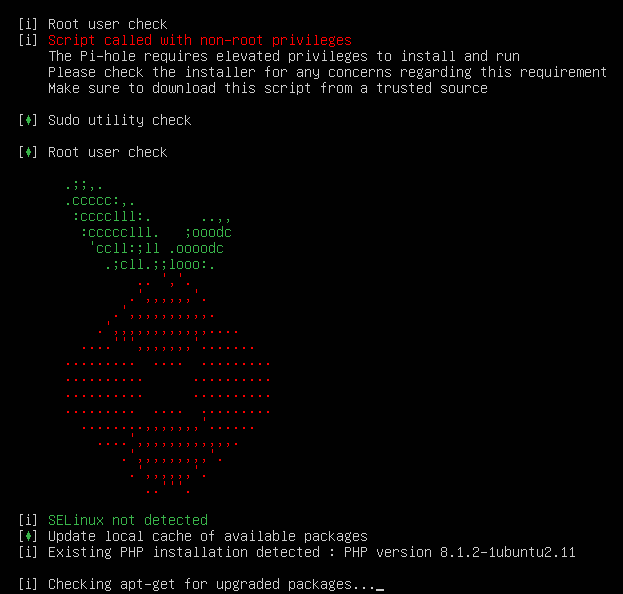
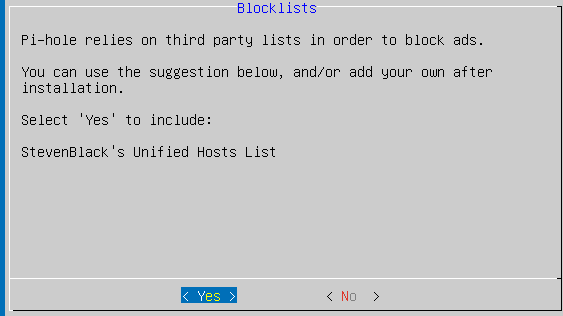
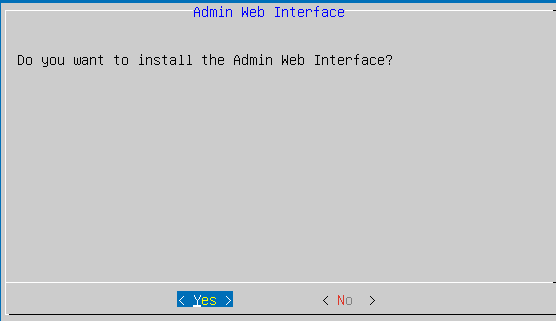
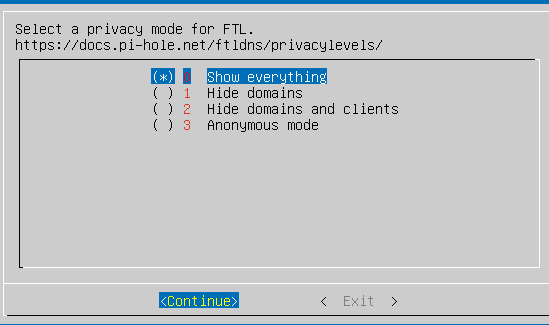
Install Pihole from the terminal: sudo curl -sSL https://install.pi-hole.net bash
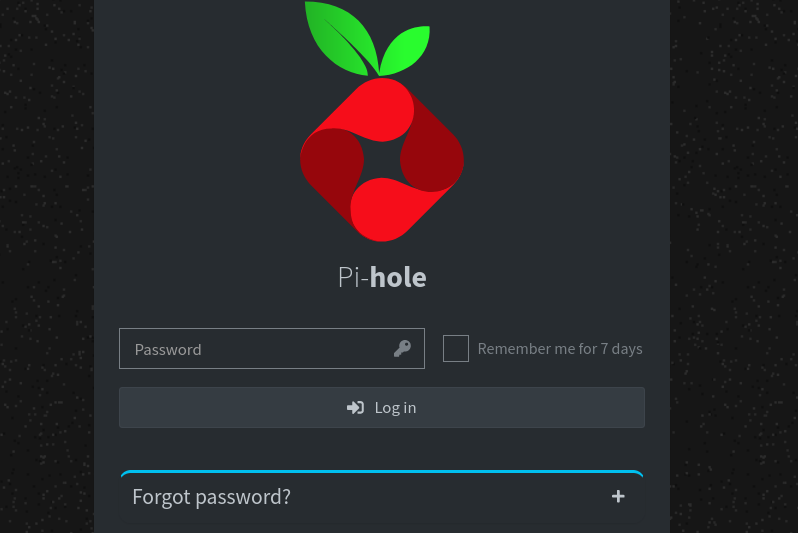
Set the Web Admin Password: pihole -a -p “input your password here”
Go to your browser and type: http://192.168.1.1/admin/login.php (replace it with your ip address for the vm)
Install Unbound DNS - sudo apt install unbound
Create Unbound Configuration File - sudo nano /etc/unbound/unbound.conf.d/pi-hole.conf
Copy the config code from here and paste it in /etc/unbound/unbound.conf.d/pi-hole.conf
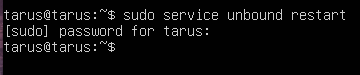
Restart Unbound to apply Configuration - sudo service unbound restart
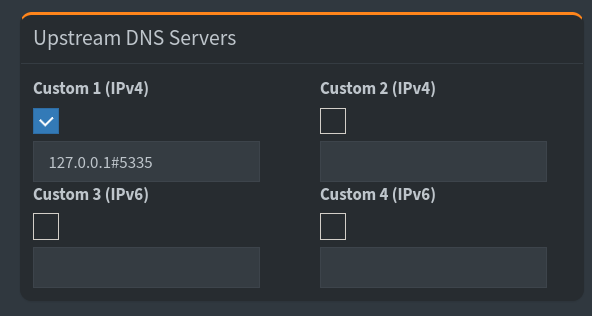
- Disable Forwarding DNS in PiHole by unchecking all the boxes

- Set Custom DNS in PiHole by putting your localhost address - 127.0.0.1#5335
After all this steps, you can configure the DNS server address to be the vm’s address by putting it:
- In your router’s web interface for all devices in the network
- On individual devices.
Results

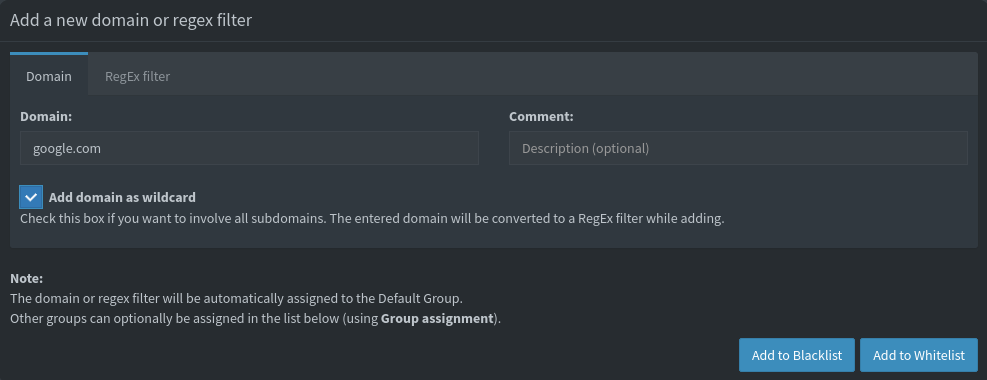
In the above diagram, I set up google.com as a blacklist site

The result above shows google.com access from a connected client was blocked.